This year, for the first time I decided to have the boys 3rd and 5th Birthday Party together. With the impending release of the Disney Cars 2 movie it seemed natural to go with the Cars theme. The first movie has been played over and over as a popular choice on Family Movie Night in our house, so the boys were very excited. As I mentioned in previous posts about birthday parties, I love the planning, making all the bits and pieces and finally the day when it all comes together. This year was no different, only that I had the energy and enthusiasm for one party, instead of the two, that usually fall three weeks apart!!

The Race car theme was based around the two main characters, Lightning Mcqueen and Tow Mater. Here I found an old plastic pavlova stand in my cupboard and sprayed it gold to represent the Piston Cup. The characters are actually both bubble bath bottles that I found in Big W which were much cheaper than purchasing the real cars.

This was the Pit Stop Lane drinks table, where there was Juice (Oil), water, and tea and coffee on offer.
 I served home made sausage rolls and hot chips in meal boxes to keep with the race track theme of eating fast food at the race track. I made simple labels on my computer for the meal boxes and bottles of water. The place mats that you can see are just Cars wrapping paper cut in to A4 size and laminated. The kids also had a Cars squeeze yoghurt and one of these super cute apple and grape racing cars.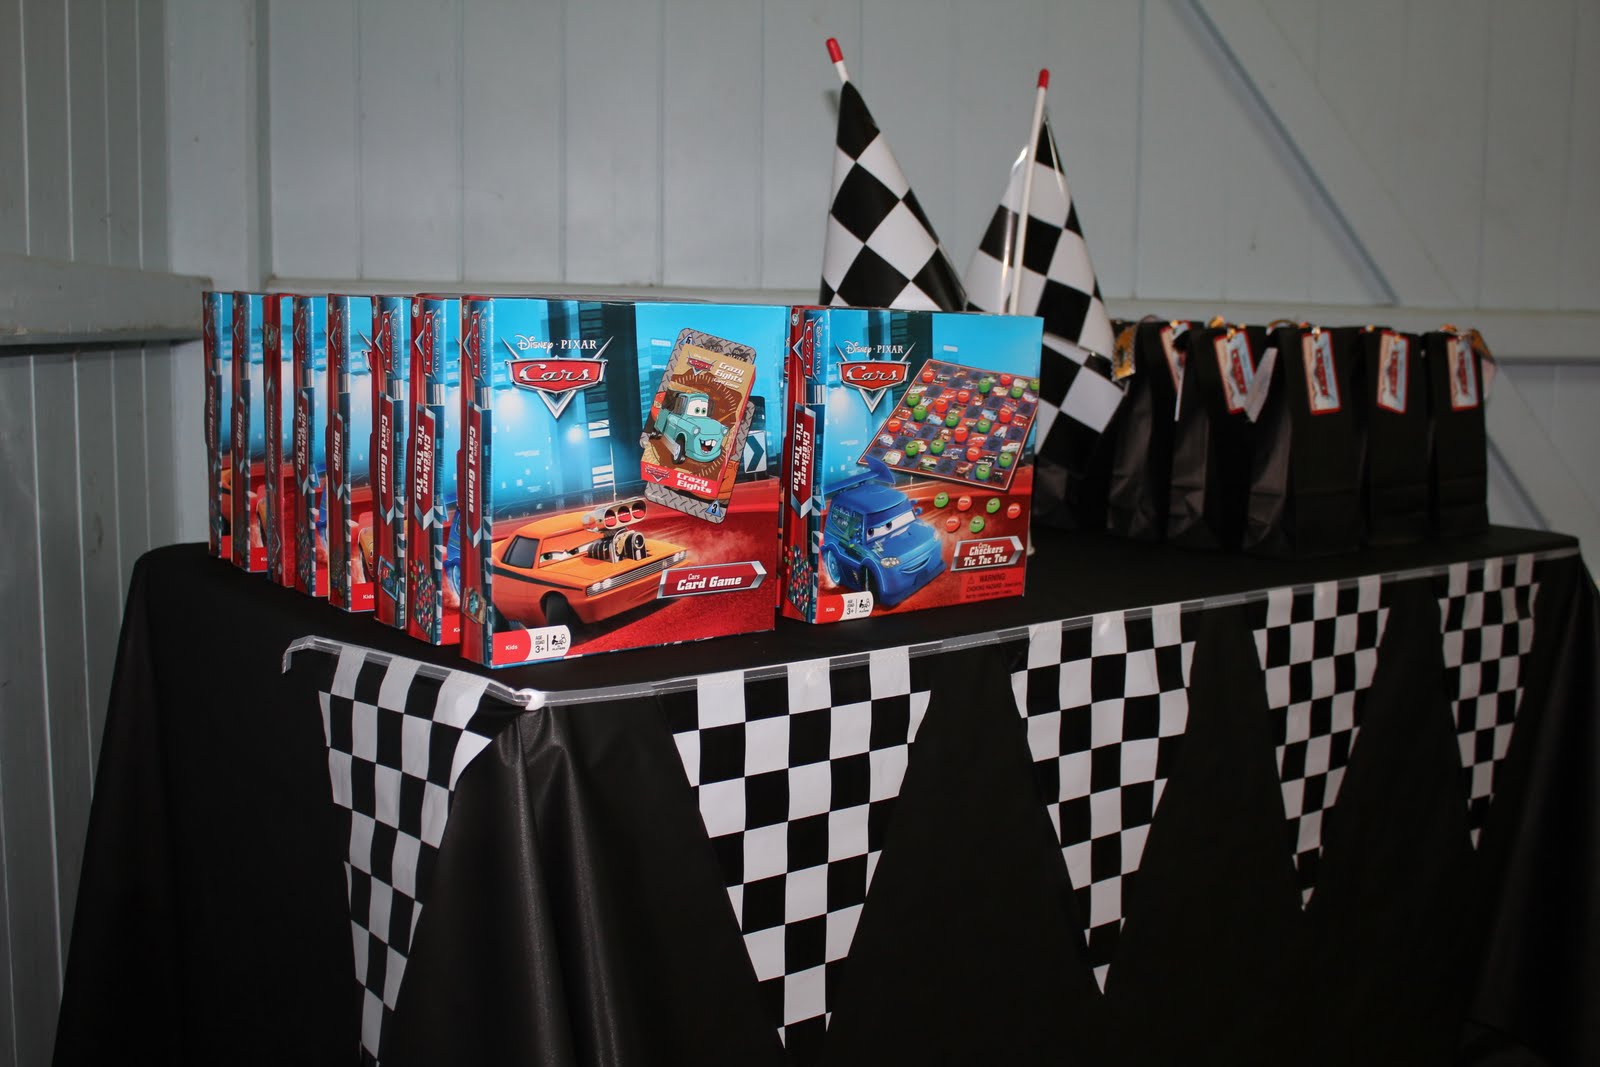
This is a picture of the loot bags and party gifts that the children received from the boys as a thank you for coming to their party. The loot bags had some cars lollies and two packets of Wikki Stix inside, and each child received a Cars themed board game. The loot bags were just a simple black bag that I attached the tag off the lanyards to with some Cards Themed ribbon from Spotlight.
 Here's a snap shot of the room before the guests arrive.
 Outside we had used some checkered tape to outline a race track. we had some coop cars and ride on bikes for the younger guests to ride on throughout the party.
This is the entrance to the party. Master 5 stood at the gate with his Nanny to greet the guests and each child received a personalised Crew Pass on a Disney Cars Lanyard that they wore throughout the party and took home. We took photos of each child at the entrance to print off and send as a thank you card.


Here's the Grandparents and Aunt working hard in the kitchen. The adults at the party were served hot sizzling sausages in bread and a bucket of hot chips, which was perfect as it was freezing!

Here's a snap of some of the boys enjoying their meal boxes after having their face painted.
 This is a picture of my big boy who actually turned 5 on the day. Master 5 is standing in front of a scene setter that I bought. We decided to buy some cheap wood, paint it black and glue it on to create the backdrop and framed it with the checkered tape. This table was used to place gifts on until they were opened later.

 The highlight of the party.... the jumping castle, which of course was a Cars Themed Castle!

Master 3's Birthday Cake!
 Master 5's Birthday Cake!
 This is my favourite photo from the day, my two beautiful boys. xx

 This is a picture of my big boy who actually turned 5 on the day. Master 5 is standing in front of a scene setter that I bought. We decided to buy some cheap wood, paint it black and glue it on to create the backdrop and framed it with the checkered tape. This table was used to place gifts on until they were opened later.
This is the boys aunt who did a fabulous job face painting the kids faces. I had bought two cheap kits from Aldi that worked perfectly.
 The highlight of the party.... the jumping castle, which of course was a Cars Themed Castle!
Master 3's Birthday Cake!
Master 5's Birthday Cake! This is my favourite photo from the day, my two beautiful boys. xx
Once the children finished eating from the meal boxes, I took out the baking paper that lined the box and any leftover food so they could be used to collect treasures from the pinata.
Here's my little guy having the first turn at the Cars Pinata!