Friday, December 17, 2010

Chocolate Treats


Master 4 wanted to make something special for his Grandparents who are arriving from New Zealand today to have with their morning tea. We had lots of candy canes in the fridge so thought we would have a go at making some stained glass candy cane chocolates! All you need is some white chocolate buttons and candy canes.


Roughly break up candy canes and place in a plastic bag. Press bag to expel air. Wrap bag in a tea towel and place on a hard surface. Pound with a hammer to crush candy into small pieces.


Place chocolate in a heatproof bowl. Stand bowl over a saucepan of simmering water (do not allow bowl base to touch water), stirring with a metal spoon for 5 minutes or until chocolate is melted. Remove from heat. I actually heated my chocolate buttons in the microwave cooking for 20 seconds at a time then stopping to stir as I wanted Master 4 to see the change in the chocolate from the heat without standing over the cook top.

Line a flat tray with baking paper and place cookie cutters on tray. Divide chocolate between shapes and sprinkle with crushed candy canes. Refrigerate for 30 minutes or until set. These were very simple to make and i think they look great!

Thursday, December 16, 2010

The Death of a Pet.

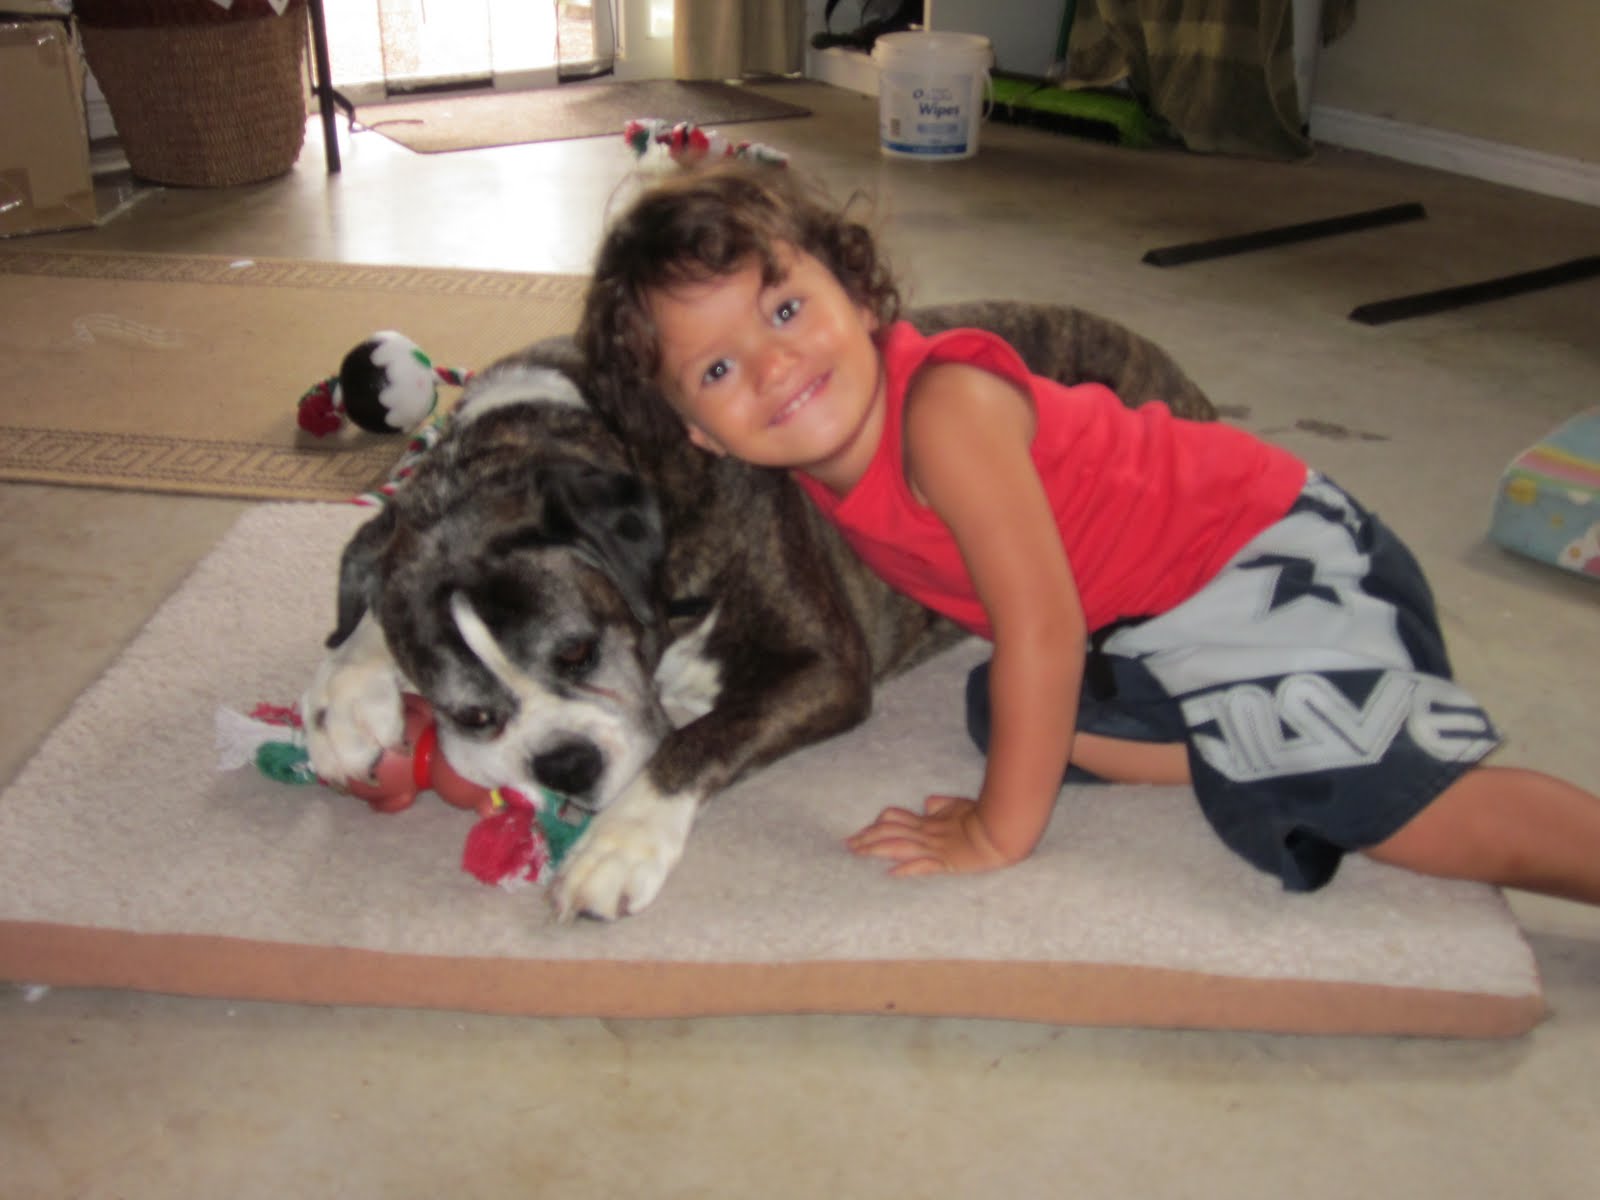
This Princess Pru the night before she went to Dog Heaven. We had an early Christmas for her and the boys served her a dinner fit for any Princess. Although it broke their little hearts to say good-bye to her it was an importnat part in the process of helping children deal with the death of their pet.

We all know the death of a pet is part of the human experience and when it touches our own children we want to make it as pain-free as possible for them. My kids don't have their own dog but my mum has two dogs who have become a big part of their lives, and in fact been claimed as their own! The boy's have had the companionship of these dog's since they were both born. Last week we were faced with the sadness of having to put down one of the dog's due to sickness and old age. "Pru" has been the true Princess in our eyes and the kind of dog who endlessly put up with being ridden like a horse, being part of the role-play, having her coat groomed as Master 2 played hairdressers with her, sharing a couch at rest time for both boys, enjoying a lick of an afternoon ice-cream shared on the back porch at Nan's house and generally providing them with the love and companionship children effortlessly form with family dogs. I knew that boys were going to be very sad by Pru's departure and would miss her dearly. You can do a lot to help your children process their pet's death and express their feelings and I hope this privded some of you with some helpful tips in the event that a family pet dies.


  • Before I told the boys about Pru I read a children's books that talked about the death of a pet . This then lead to me being able to explain to them that Pru was sick and that she was going to die. I read a lovely book called Dog Heaven, a cheerful look at the wonderful place that dogs go to when they die. In dog heaven, there are huge fields to run in, tasty biscuits to eat all day long, and fluffy cloud beds for sleeping.

  • Be honest. Don't tell your children their pet was "put to sleep" because they may get false hopes that it will wake up again! Or it may scare them into thinking they'll die in their sleep, too. I told the boys that the vet had come and said that Pru was too sick to stay here (on earth) anymore and therefore needed to go to Dog Heaven.

  • Master 4 understood far more than Master2 and naturally became very upset. I think it's important to let your children know that it's okay to cry and be upset. I told my boys that I too was upset and they saw their nan crying also.

  • Encourage them to talk about their pet and share memories when they're ready. Don't act as if the animal never existed or sweep its death under the rug. Only this week has Master 4 been ready to talk about the event and how he is feeling about it all. We both had a good cry and then decided to draw some pictures of things he enjoyed doing with Pru.

  • Together think of a way to memorialize your pet. As Pru was cremated, a special shelf has been made for her where the boys have made cards, we have put up pictures of her and her shiny collar sits proudly around her special box. I have also put together a photo collage for their room and they now include Pru in their nightly prayers.

Wednesday, December 8, 2010

Pop, Bang, Crack went the Christmas Cracker


I have lots of small gifts to give to people as a small token of thanks for their input into our lives throughout the year. I wanted to make the wrapping personal from the boys so I decided to put the chocolates inside a hand-painted Christmas Cracker. I'm also going to make these with the boys and put jokes inside for our table on Christmas Day.


I decided to get Master 2 to paint using marbles. Firstly we put some blobs of red and green paint on a piece of paper inside a plastic container.


Master 2 happily rolled the marbles around the container!


This is what it looked like once he had been rolling the marbles for about a minute.


We then wrapped the chocolates inside a paper tube into the shape of a Christmas Cracker. Another cute idea of how to wrap your presents with LOVE!


Have you heard the one about...? Here are some of my picks if you want to put jokes in your crackers!

What do you call Santa's little helpers? Subordinate clauses!
What did baby corn say to mummy corn?Where's popcorn?
What's white and goes up?A confused snowflake
What has 22 legs and 2 wings but can't fly?A football team
What sort of sentence would you get if you broke the law of gravity?A suspended one!
How do snowmen get around?They ride an icicle
How do monkeys make toast?Stick some bread under the gorilla!
How do witches tell the time? With a witch-watch!
What do you get if you cross a cowboy with an octopus?Billy the squid!
What do you get if you cross a hen with a bedside clock?An alarm cluck!
What song did Cinderella sing as she waited four months for her photos to come back from the chemist?'Some day my prints will come!'
What's grey, yellow, grey, yellow, grey, yellow, grey, yellow, grey, yellow, grey, yellow? An elephant rolling down a hill with a daisy in its mouth!
Why do women have orgasms?It gives them one extra reason to moan.
What is Santa's favourite pizza?One that's deep pan, crisp and even
Who hides in the bakery at Christmas?A mince spy!
What do you get if you eat Christmas decorations? Tinsilitis!
Why did the golfer wear an extra pair of trousers?In case he got a hole in one
What do you call just married spiders? Newly-webs
Why did the tightrope walker visit his bank?To check his balance
Why was the Egyptian boy confused? Because his daddy was a mummy
What kind of paper likes music?(W)rapping paper.

Wrapped with Love


Making your own wrapping paper with your kids is a fun activity that they can do independently once they get going. With some creativity they will create gift wrap that is unique and different – everyone will know the gift is from them! There are many different ways you can decorate your Christmas Paper:

Paint the paper in Christmas colours

Decorate the paper using stamps

Decorate the paper using Christmas stickers

Marble Paper

Get your child to draw on the paper using Marker pens


Today Master 2 and I made some wrapping paper for him to wrap a little present for his Gymnastics teacher tomorrow. We have recently been painting some walls in our house and he has been wanting to paint using Daddy's big roller, so I decided to let him roll the paint. I purchased a roller and tray from the discount store for $2, had some star stick ons in the craft box, cut out a shape of a Christmas Tree and we were ready. I placed all the shapes on the paper securing them with a bit of Blu-tac to keep them in place. Once I initially rolled the roller in the paint he was able to do the rest on his own. Master 2 is really proud of his wrapping paper and I know his teacher will just love the personal touch too!

I cut out a shape of a Christmas Tree and Master 2 helped me place some stars (I had these in my craft box, you could always just make your own instead of buying) on with blu-tac on the back to keep them in place.


I picked up this roller set for $2 from the discount store, perfect size for a toddler to manipulate.


Roll the paint onto the sponge for you little one at the beginning and then they will be able to do this independently.


Gingerbread House


Decorating a gingerbread house is magical... the creativity and freedom you feel while building your own, colourful dream home! There's nothing like having that great big bowl of lollies in front of you and putting them wherever your heart desires!Building and decorating a gingerbread house is a wonderful tradition for kids to grow up with and one that I started with my kids last year. Best of all, it let's us adults rekindle that magic for a little while!


Anyone who's built a gingerbread house from scratch knows that it can take quite a bit of effort (even an entire weekend sometimes!) to get the house ready for decorating. Whether you want the full experience of house creation or just want to do the "fun part" - only decorating - it can be a fun family experience!


We used the Gingerbread Kit this year which is available from Kmart for $15 - includes everything you need to use to make a cute house! Master 4 really enjoyed the challenge of working out where the pieces fitted to put the house together. We actually did this together while Master 2 was asleep! Then both the boys had a bowl of sweets and I left them to it. They really had a wonderful time decorating the house and were very proud of the end result. We have wrapped it in the fridge and it will no doubt take pride of place in the middle of our table this Christmas Day for all our family and friends to admire and enjoy!


Saturday, December 4, 2010

Thank you Calendar


"Grandparents are a delightful blend of laughter,caring deeds, wonderful stories and Love."


The ability to Love, shower affection, and willingness to help and comfort their grand children has made grandparents indispensable. There can be no gainsaying the fact that their role is as important as the role of parents. Their timeless experience, their patience and their ability to create a non-compulsive learning environment is something that even parents have learnt to rely on. The role of grandparents in bringing up children is more important than ever.


One important thing, which seems to be missing in the lives of many children today, is the sense of family values and principles. This is where the grandparents step in. Inculcating beliefs and values is not as easy as it was 50-60 years ago. No questions were asked and there was an implicit sense of belief. With changing times and changing outlooks, children have started to question the authenticity of everything. They do not believe until they are convinced. Globalization has eroded the sense of belonging and identity with their roots, and science and technology has them questioning everything. The parents who are already fighting constantly with time are perhaps not in a position to inculcate these values. Children are very demanding, and grandparents without appearing to be pushy have all the time and experience to deal with tantrums. They appease, soothe, and impart values with tremendous ease.


My boys are very lucky to have two sets of Grandparents who are very much a part of their lives and their upbringing. At Christmas time I like the kids to really think about giving thanks and saying thanks for the unconditional love and support they receive from their Grandparents throughout the year. This year Master 4 has made a Calendar for his Grandparents for 2011. I asked him to draw a special picture for them and then together we talked about why they are so special to him. I then typed up the sentences and we placed them around the Calendar. It's actually really touching to listen to the things that a 4 year old values from his Grandparents. The thing that struck me the most is how all the things mentioned involved time, which reminds me once again.... CHILDREN NEED OUR PRESENCE NOT PRESENTS.


Get your free calendar template at http://www.vertex42.com/calendars/2011.html

Tuesday, November 23, 2010

Christmas Crafts for Toddlers


Christmas is a time for all the family to come together and share in the joy. Making the decorations is part of that, and there is no reason why toddler shouldn’t join in.
A toddler might be small, but he or she usually has bags of enthusiasm and energy. Channel this into making some great Christmas craft items that could become treasured family heirlooms in the future.


Christmas Cards
Christmas cards are a great toddler craft, as they give so much joy to the people who receive them. Fold pieces of card in half so that only the front of the card is showing and let your toddler go wild with glitter glue, Christmas stamps, metallic pens and self-adhesive shapes.


Christmas Angels
Cut out this basic angel shape on a piece of cardboard. Have fun painting the angel and adding all sequins, glitter and what ever else you have in your craft box. Perfect to sit proudly at the top of the family Christmas Tree.


Christmas Wreath
Cut a circle out of a paper plate and paint it with green paint. Then provide your little one with lots of Christmas sequins and glitter and let them have fun decorating it. The sequins should stick to the paint, if not brush with some PVA glue. The finished product is perfect to welcome family and friends at the front door during the holiday season.


Toilet Roll Nativity
A toddler can produce a great nativity using the inside rolls from toilet tissue. Cut out shapes from gummed coloured paper for cloaks, faces, eyes and hair. Allow your toddler to stick the shapes onto the tubes.


Dough Craft Shapes
Make some craft dough and offer it to your child. He or she can use
cookie cutters to make dough shapes to go onto the tree. Before the dough dries, add a hole to thread ribbon through, or press a paper clip into the top of the dough as a hanger. Once dried, allow your child to paint the shapes. If you like, you can make the shapes yourself and just let your child do the painting. Shapes can be varnished for extra durability.


  • Mix thoroughly 1/4 cup of salt, 1/4 cup of water, and 1 cup of flour. Work into a very smooth dough using a wooden spoon and then your hands.


Biscuits
Gingerbread shapes are easily cut from rolled out dough using Christmas-shaped cutters. It doesn’t matter if they come out a funny shape – they’ll taste just as good!


Crowns
Crowns are a great Christmas craft as they fit in with the theme of Three Kings, and add extra sparkle to the festivities. Cut a crown shape from gold or silver card and let your toddler glue on plastic gems. Once dried, staple it to the size of your child’s head.


Pom-pom Christmas Tree
This Christmas tree gets its soft and fuzzy look thanks to a few handfuls of pom-poms. The fun comes from not having a pattern – kids are free to place pom-poms of different sizes and colors wherever they want!


Handprint Rudolph
This handprint Rudolph is a great keepsake craft to give as a Christmas gift to grandparents, aunts or uncles! Be sure to include child's name and the date on the back.


Craft Stick Christmas Tree Ornament
Use paint, craft sticks, and a few decorations to make this lovely craft stick Christmas ornament craft to hang on your tree this Christmas! This is a great project for a snowy day.