Showing posts with label Craft. Show all posts

Sunday, October 23, 2011

The Very Busy Spider


I adore this multi-sensory book, children can feel the pictures as well as see them, while they hear or read the easy, rhythmic text. Added to the visual excitement of Eric Carle's vibrant collages of familiar animals is the tactile experience of feeling the spider's web as it grows from a simple line into a complex and beautiful creation. Your kids will rejoice to discover that even the tiny, humble spider has an important role to play in nature's scheme of things. This is an absolute favourite in our house at any time of the year, but even more so in the lead up to Halloween.

This is a very simple yet effective craft activity to make a spooky spider's web with a spider to hang at your front door to greet your Halloween Guests!


Start by painting a paper plate. We used orange to go with the colours for Halloween.


Make sure the whole plate is covered. Then let the plate sit and dry.


While you let your plate dry, get busy making your spider. Pull out any books, pictures, or even look up a picture on google images of a spider. Be sure to point out that a spider has 8 legs. It's a great opportunity to talk about different animals and how many legs they have.


We used an old foil baking tray for the body of the spider.


Then the boys added some eyes and coloured craft match sticks for the legs. Use PVA glue as it sticks much better. You can use paper/cardboard you have to make your spider.


When the paper plate has dried, use scissors to cut slits, approx 5cm in around the plate.


To spin your web you will need some wool. Attach the start of your web to the back of the plate and attach it with some tape so it stays secured.


Then start to spin your web. Weave the wool in and out, over and under as you please.


Keep spinning until your plate resembles a web!


Then leave the end of the wool hanging from the web and attach the spider. Now you have a very cute home made Halloween Door decoration.

Tuesday, September 20, 2011

Under The Sea


On the weekend we had a family day out at Seaworld. One of our favourite things to do at Seaworld is to spend time looking at all the Under Sea Life. Master 3 was very little when we last visited Seaworld, so he was particularly excited about the viewing window which opened up into an underwater world alive with all sorts of coloured fish, stingrays and sharks. As Master 3 was so taken with the coloured fish he saw, I decided to re-visit a favourite story today and do some craft to go with it. One Fish, Two Fish, Red Fish, Blue Fish is a favourite in our house and I have to say was a favourite of mine as a child. This is another cute paining activity where your little one uses their hand and finger prints....


Paint your hand each a different colour and press them onto your page. Add a goggle eye if you have one or you can put one on with marker pen.

Then Master 3 used the bottom of a plastic cup and dipped it in blue paint and pressed on the paper around the fish to make bubbles.


Paint your fingers green and press on to the bottom of the page to represent seaweed.


I had some glitter that I gave to Master 3 to sprinkle over his fish which he thought looked very cool!


A Sunflower grown from LOVE


This is a gentle story about unhappiness, bullying and reconciliation, with an understated message which is nevertheless important to small children. With the Spring sunshine out it seemed such a perfect day to plant a sunflower and do some craft. Master 3 had a friend over so we got busy making these cute flowers. There's something really special about a painting that has your child's hand prints on them. Maybe it's that I can cherish it forever and ever and remember those chubby little hands that I love so much. 


I started by drawing a small cirlce on a sheet of paper so Master 3 could paint around it with his hand.


Cover the whole hand with yellow paint and make a hand print on your paper, make sure the hand print faces outwards to depict the petals on the sunflower.


Using green tissue paper cut up into small squares make a stem by pasting it on with glue.


Get some real seeds (whatever you have in the cupboard will do) and put some glue in the centre of the sunflower and sprinkle them to cover.


This is a great fine motor activity as you can see Master 3 and Little Miss 3 concentrating hard to pick up the little seeds in their fingers.


Paint the pointer finger green to use for printing the grass along the bottom of the page....


Here is the finished sunflower, made with love and one that I can keep forever!

Monday, September 12, 2011

Stick Patterns

I'm working on developing Master 3's mathematical vocabulary at the moment and finding he is loving it. Maths activities are so much fun with little one's as they are all hands-on and quick and easy to put together. This week we have been looking at making two-coloured patterns.


You can use just about anything around the house to do this little activity, I love colored match sticks. You can pick these up from any discount store.


Master 3 happily made three different patterns using his sticks. Get your little one to say their pattern out loud as this helps them to understand the repeating factor involved.


Then I gave him a piece of black card and some PVA glue and he happily made these stick patterns.


Sunday, September 11, 2011

A Pirate's Adventure

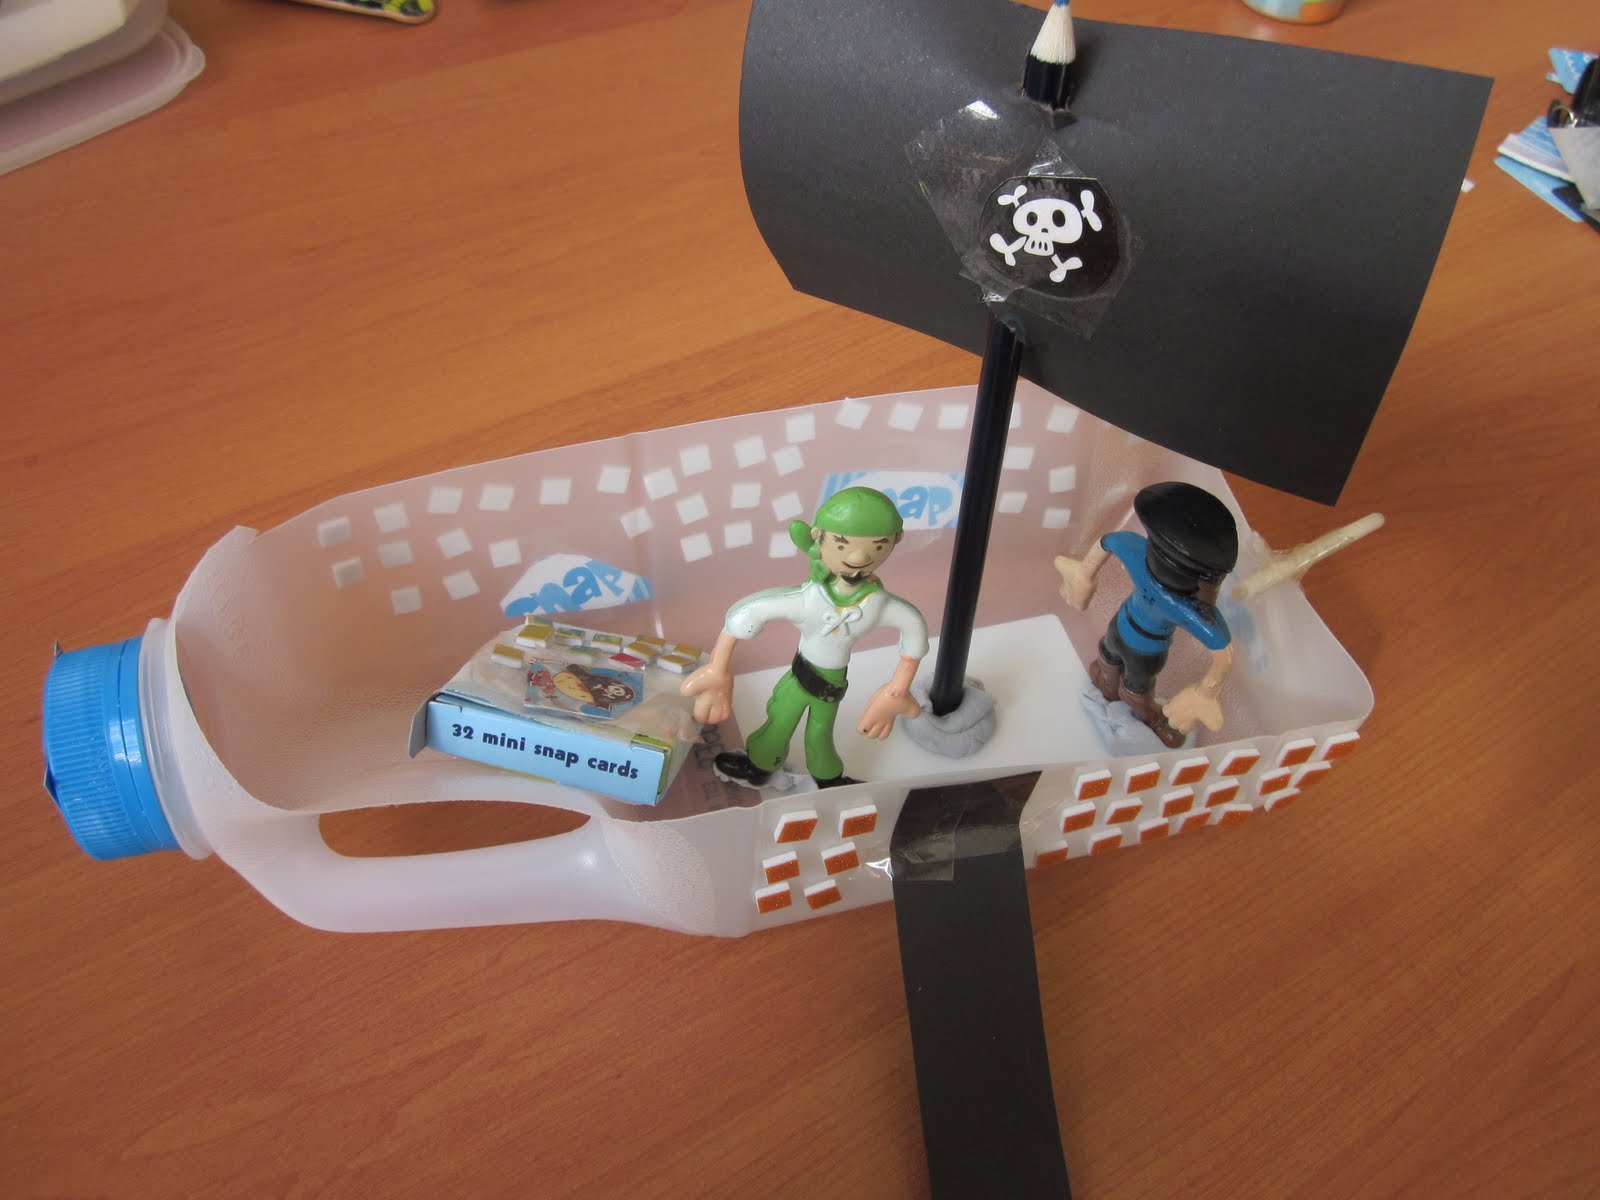
Master 5 really enjoys the opportunity to construct things using boxes, containers and pretty much anything else he can source from the house (or his Nan's). Today we have had a Pirate Day at home and along with Master 3 have been busy doing lots of Pirate crafts. While Master 3 had is daytime nap today, Master 5 asked if he could have the empty milk container sitting on the sink to make a pirate ship. He likes time on his own to work on these little projects without any interruptions from his younger brother.


We cut the plastic milk bottle down to look like a ship and then I left him to it ......


Here's master 5 busy putting some Pirate play figures into his ship with blu-tac.


This is a little box that he wrapped in baking paper and decorated with gems from the craft box.


Love the tiny telescope at the rear of the ship! He has rolled a tiny piece of baking paper and used sticky tape to attach it.


Every Pirate Ship needs a plank and a sail!


He has decorated the sides by sticking on mosaic pieces left over from another craft activity and cutting out pictures of pirates from some cheap cards we had.


I love this. Here Master 5 has scrunched up some baking paper to make an island and stuck a plastic palm on it. He told me this is where the treasure is hiding! Ahoy!

Polly Want A Cracker?


Last week Master 3 picked up this library book on our weekly visit and asked me to read it to him this morning. It is a lovely book, and gave us the chance to talk about the many different types of birds we know and see on a regular basis. There has been the ongoing topic of swooping magpies in our house since being attacked while out riding a couple of weeks ago. The boys and I had a good look at pictures of parrots on the Internet. I like to use the Internet with them occasionally, particularly for a simple task like searching Google Images for a particular picture.


We decided to look through the craft box and see if we still had a collection of coloured feathers and make a parrot.


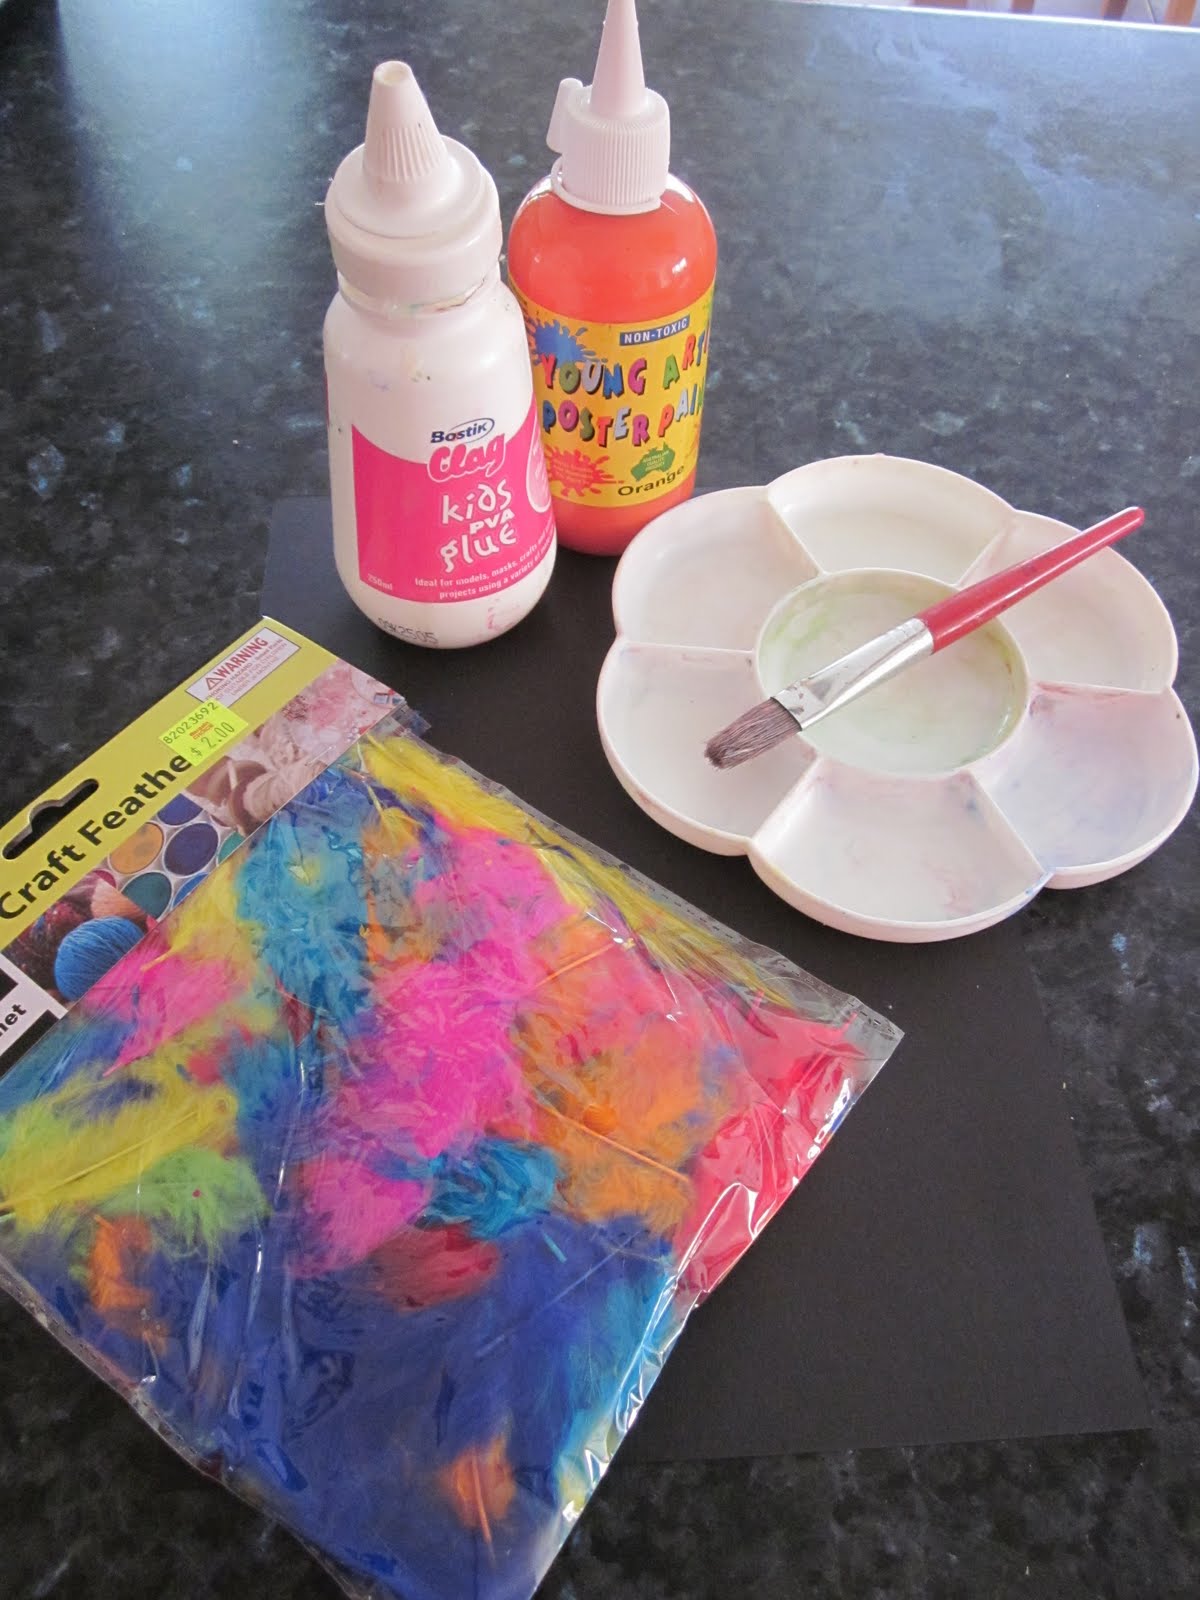
This is a very simple yet effective craft activity that both the boys really enjoyed. All you need is some paint, PVA glu and coloured feathers from the discount store.


The boys painted a parrot. I left Master 5 to paint his own, however did draw a rough outline for Master  3 to guide him.


Then I gave them both some coloured feathers and PVA glue and left them to decorate the parrot.